WHY WORM COMPOSTING IS AMAZING FOR YOUR GARDEN
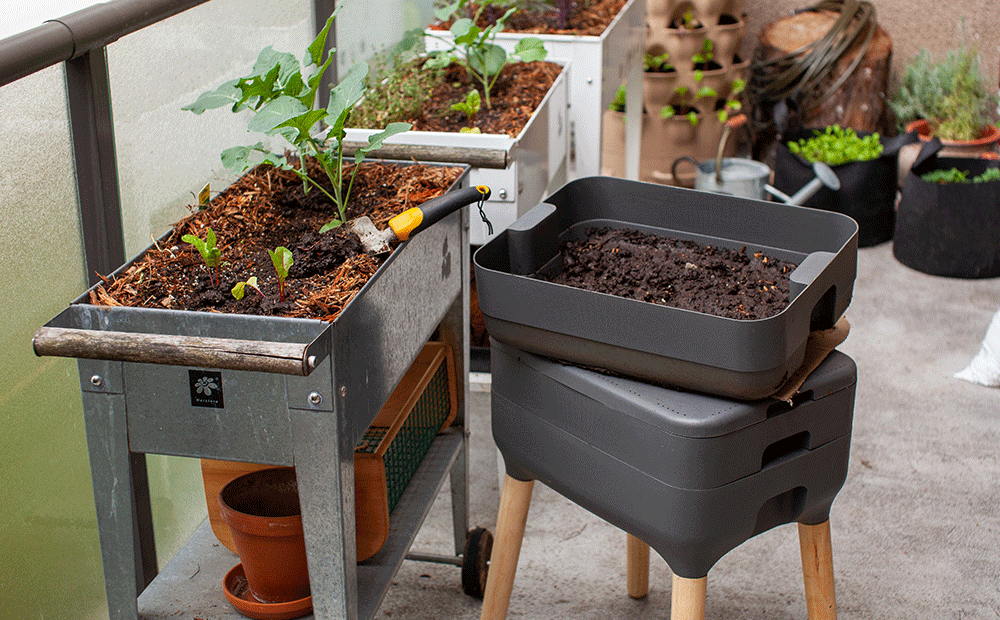
Composting is fantastic for your garden and the environment—but worm composting is on a whole other level. Also known as vermicomposting, worm composting uses a special compost bin containing—you guessed it—worms! The thought of keeping a bin of worms might make you a bit squeamish, but they’re totally harmless, so there’s nothing to worry about! If you can watch the latest season of Stranger Things without nightmares, you can definitely handle worm composting.
Worm Composting Vs. Regular Compost for the Garden
Traditional composting methods require you to toss your biodegradable scraps in the bin and let them decompose on their own. The process is slow and occasionally smelly, and you need to turn the pile regularly to introduce oxygen, which is necessary for decomposition.
By using worms, they do all the work for you, and believe us—they work fast! They munch up the food scraps, then release them as waste. We call these “worm castings,” and it’s an incredible source of nutrients and beneficial microbes for your garden. It contains the worms’ mucus and gut bacteria—which sounds gross, we know—but it helps to make minerals in the garden soil more easily accessible for your plants! Castings also contain more nitrogen-fixing bacteria than regular compost, which helps your plants grow more lush, green, healthy foliage!
How to Start Worm Composting
To begin vermicomposting, you can purchase a special bin specifically for indoor vermicomposting or make a DIY bin! To build your own, you’ll need the following materials:
Two 10-gallon plastic bins and one lid
Some 2x4 wood scraps
Landscape fabric
A drill
Topsoil
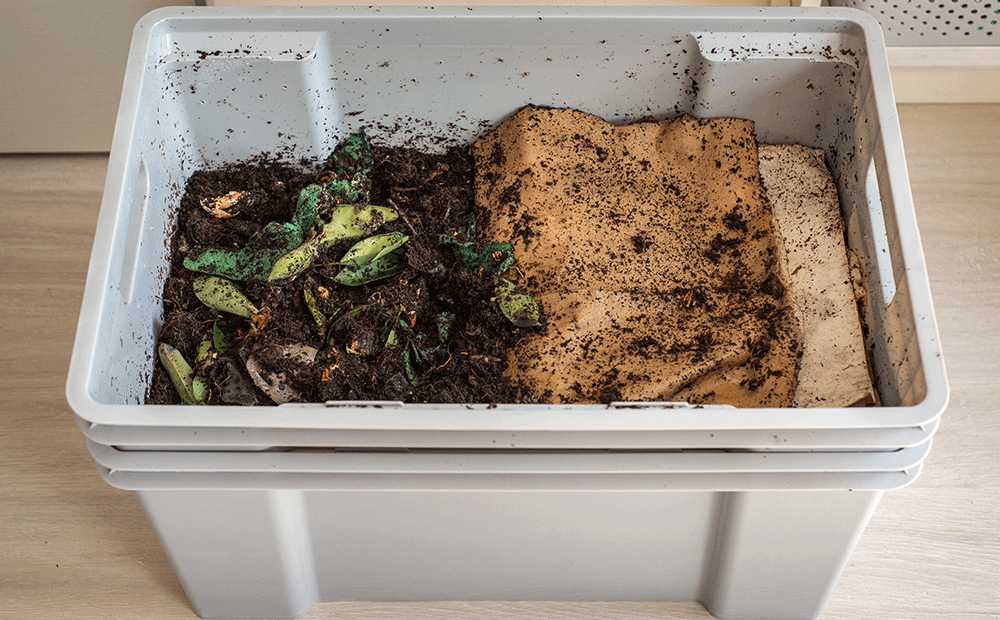
Starter material (horse manure, shredded newspaper, and cardboard work great!)
1–2 pounds of red wigglers
In the first bin, drill several holes in the bottom, as well as through the lid. The lid holes provide oxygen for your worms, and the bottom holes release excess moisture into the second bin.
Place the 2x4 scraps into the second bin to act as spacers, then place the first bin on top. Now the moisture can drain into the second bin without making a mess!
Next, line the bin and the lid with landscape fabric to stop the compost from leaking through the holes and prevent the worms from escaping. Fill your bin with ten inches of starter material, then add a layer of topsoil. Moisten it with water, and then add your wigglers! To get them started, sprinkle some food scraps across the surface, place the lid on the bin, and let them work their magic.
A warm, dark environment is ideal for your compost bin, so if you have a heated basement or garage, that will work great. Remember to add a good mix of green matter (grass clippings and food scraps) with brown matter (woody plant material, old mulch, cardboard, and dry leaves). Never add citrus to a worm compost bin, and avoid adding dairy, onion, or garlic—they’re too smelly!
Commonly Asked Questions About Vermicomposting
Can I Use Regular Earthworms for Composting?
Nope! “Red wigglers” are the only worm you should use for composting. Luckily, they’re very easy to acquire—readily available at many fishing tackle retailers and farm supply stores—and they aren’t expensive.
How Long Does It Take to Compost with Worms?
Red wigglers can eat their weight in food every day. So, if you have one pound of red wigglers, they can break down one pound of food scraps, creating one pound of worm castings. That’s a lot of free compost, and fast! You may as well share some with the neighbors if they have a garden—giving away your surplus of compost is a lot better than dumping trash in a landfill!
When you first start composting, add your worms’ weight equivalent in food scraps, then wait to see how long it takes them to break it down before adding in more. Sometimes it takes them a little while to get in their groove, so you may only need to fill the bin two or three times per week during the early stages.
Ready to start worm composting in Indianapolis? Visit Dammann’s Garden Co., and we’ll get you all set up with the necessary supplies! You’ll be amazed by the difference it makes in the health and vigor of your garden. Browse our blog archive to find more information about what you can and cannot compost.


